On June 16 my mom and I attended the Harvest Home Farm Artisan & Fiber Festival in Whitehall, WI.
There were sheep far away in the pasture.
And blueberry bushes!
These brothers were checking out the llamas.
And there was a sheep shearing demonstration! Shortly before this, I had read something about shearing and was intrigued. When you've shorn a sheep, the fleece is supposed to be in one whole piece; I was trying to figure out how they do it. The answer is complex, but to grossly simplify, you start with the underbelly where the fiber length is too short to use, and throw that part aside. Then, starting with short strokes around the neck and face and other nooks and crannies, then do the bigger areas. That is, again, grossly simplified. They do not do it in one continuous stroke of the shear, like I had thought. The wool more or less stays together as it is shorn, so it easily stays in one piece. And after several sheep, you have a big burlap bag of wool and some freshly shorn sheep.
Tuesday, July 17, 2012
Saturday, June 23, 2012
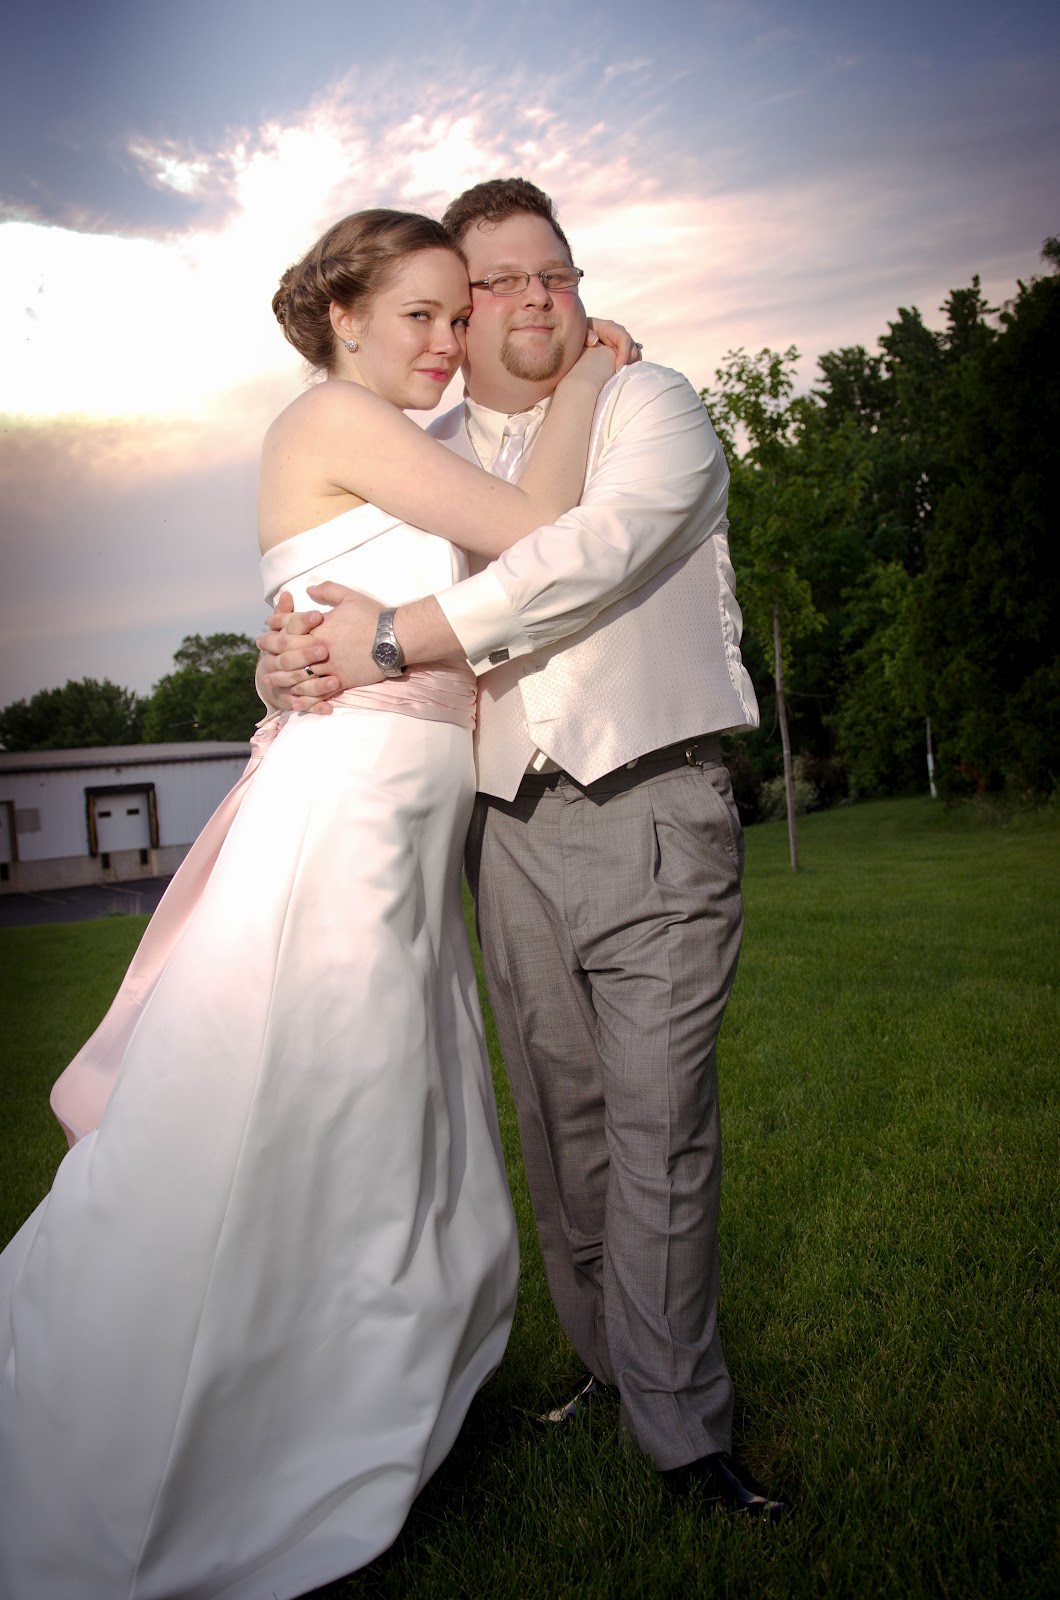
Rounding out all the wedding posts
![]() |
| One half of our smallest attendants: Logan and Amelia. Not pictured: Leo and Kinsey ©Marcus Kantz |
| ©Marcus Katnz |
![]() |
| Logan poses while his mom (Nicolle) straightens him out. ©Andi Stempniak |
![]() |
| The Orchestra/My Cousins: (L-R) Anna, Emily, Sarah and Ben Bachmeier. ©Andi Stempniak |
![]() |
| Our moms lit our individual candles. ©Andi Stempniak |
![]() |
| Gramps walks me down the aisle ©Andi Stempniak |
![]() |
| Ben and his brother Mike have the same expression! ©Andi Stempniak |
![]() |
| My accessories ©Andi Stempniak |
![]() |
| ©Andi Stempniak |
![]() |
| ©Andi Stempniak |
![]() |
| I can't believe my luck. ©Andi Stempniak |
![]() |
| ©Andi Stempniak |
![]() |
| He's a comedian! ©Andi Stempniak |
![]() |
| ©Andi Stempniak |
![]() |
| ©Andi Stempniak |
![]() |
| ©Andi Stempniak |
![]() |
| ©Andi Stempniak |
![]() |
| Maid of Honor Paula, myself, Maid of Honor Kelsey, and Nicolle. ©Andi Stempniak |
![]() |
| Best Man Michael, Ben, Groomsmen Alan and Cam. ©Andi Stempniak |
![]() |
| Our joined families: My brother Cam, my brother Carl, my grandpa Carl, my grandma Kathy, my mom Barb, me, Ben, his mom Anne, his dad Jim, and his brother Michael. ©Andi Stempniak |
Friday, June 22, 2012
Place Cards
We elected to assign tables, but not individual seats. This project was probably the simplest and had the best return on investment. It didn't take much time and the supplies didn't cost much, but it had major impact. And Ben got really involved in this one, too!
We started with a printable place card kit from a craft store. The cards are already perforated, there is a slight crease at the fold line, and there's an embossed square around the edge. I found a stamp that resembled the flower on the invite, and a peach chalk-based ink. After a few test runs, we were in business.
We found it was best to stamp the cards before printing them. With the chalk-based ink, we found you had to be careful in handling it or you get chalk residue on your hands.
![]() |
| ©Andi Stempniak, https://www.facebook.com/stempniakphoto |
We started with a printable place card kit from a craft store. The cards are already perforated, there is a slight crease at the fold line, and there's an embossed square around the edge. I found a stamp that resembled the flower on the invite, and a peach chalk-based ink. After a few test runs, we were in business.
We found it was best to stamp the cards before printing them. With the chalk-based ink, we found you had to be careful in handling it or you get chalk residue on your hands.
Thursday, June 21, 2012
Wednesday, June 20, 2012
Flowers
In planning the wedding, flowers were a bit of a stress. In most things (photographer, DJ, baker, etc), we loved either the first or second one we approached and quickly stopped looking. So when we had to meet with three florists, we had begun to worry. We shouldn't have.
The third florist, Vicki of Eevy Ivy Over, was everything we could have wished for in a florist. She got me. She understood the mental picture I had developed, and she improved upon it.
See, even our ring bearer was impressed!
All photos ©Andi Stempniak, https://www.facebook.com/stempniakphoto.
Tuesday, June 19, 2012
Table Numbers
We wanted to do something cool with table names. Something awesome, and original, and us.
We couldn't think of anything.
Eventually, we settled on actual numbers, with the words written out in French.
Why French? It's been a big part of my life. I started studying it in high school, participated in Concordia Language Village French Weekend programs, traveled to France with a group from my high school, and then went on to be a counselor in CLV's French summer camps, to major in French, and to study abroad in Paris. More recently, it's been used to pronounce wines correctly, and even more recently, taking Quebecois phone calls at work.
But that wasn't enough. That is, it wasn't enough for my own satisfaction.
I wanted to make them myself. Each one is unique and involves a lot of patience and glue. I would not have even attempted this without my Cricut.
The front side (pictured above) consists of individual cut-out letters and die cuts glued to an 8" x 8" sheet of scrapbook paper. That exact size doesn't really exist commercially, I had to cut them down. The backside is much simpler, just a sheet of scrapbook paper (same size) with a die cut numeral. Sandwiched between the front and back is a sheet of card stock paper (same size), for stiffness.
It was time-intensive, but it was something I felt compelled to do.
We couldn't think of anything.
Eventually, we settled on actual numbers, with the words written out in French.
Why French? It's been a big part of my life. I started studying it in high school, participated in Concordia Language Village French Weekend programs, traveled to France with a group from my high school, and then went on to be a counselor in CLV's French summer camps, to major in French, and to study abroad in Paris. More recently, it's been used to pronounce wines correctly, and even more recently, taking Quebecois phone calls at work.
But that wasn't enough. That is, it wasn't enough for my own satisfaction.
![]() |
| Table 12; ©Andi Stempniak, https://www.facebook.com/stempniakphoto |
The front side (pictured above) consists of individual cut-out letters and die cuts glued to an 8" x 8" sheet of scrapbook paper. That exact size doesn't really exist commercially, I had to cut them down. The backside is much simpler, just a sheet of scrapbook paper (same size) with a die cut numeral. Sandwiched between the front and back is a sheet of card stock paper (same size), for stiffness.
![]() |
| A visual, in case you didn't get all that |
Monday, June 18, 2012
RSVPs
You might remember this post about the invitations. To refresh your memory, I designed our invitations in black and white, a family friend printed them, and then we painted them with water colors.
We left the response cards unpainted, and invited guests to decorate them before dropping them in the mail. Almost half of our guests returned theirs adorned in some way – crayon, watercolor, colored pencil, glitter – so we had to make some tough choices.
My mom had a bulletin board she wasn't using and gave me carte blanche. I painted the wooden frame silver with a metallic finish, covered the bulletin-part with peach fabric, and used a thick ribbon as trim on the top and bottom edges. I decided I needed to trim it with something because I needed to hide the naked parts of the boards the poorly-cut fabric left exposed. Oh well!
The final product:
![]() |
| ©Andi Stempniak, https://www.facebook.com/stempniakphoto |
Subscribe to:
Posts (Atom)